Fumigation is common practice for hatching eggs to prevent losses due to microbial contamination. You should check your fumigation annually to make sure it is still effective. Follow these 5 easy steps to get the best results from that yearly check-up.
 Fumigation is one of the most effective and cheapest ways to disinfect eggs. It is however important to apply the instruction method in a strict way, with utmost precautions for the health of workers. Also, it is necessary to do a yearly efficacy check-up. If such a check is not currently done in your hatchery, we recommend it is carried out as early as possible to establish a baseline for subsequent annual checks.
After being laid, eggs should be fumigated immediately at the farm, preferably while they are still warm to kill bacteria picked up in the nest, then again arriving at the hatchery to bring the level back down again. Never right before set. These five steps on checking the efficacy of a fumigation chamber are relevant for any fumigation chamber.
For this test you will need agar plates. Agar is a growth medium. This means any viruses or bacteria that come into contact with it will grow exponentially.
Here is what you should do:
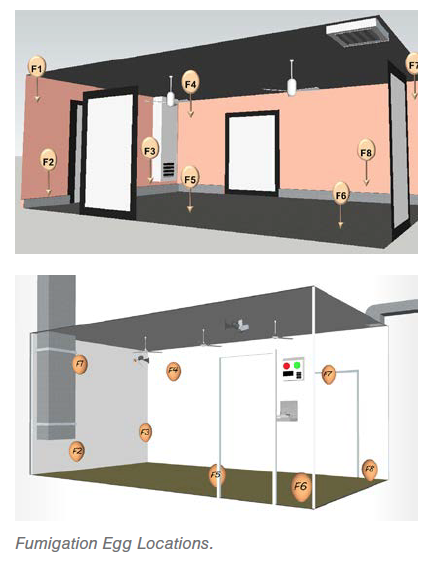
- From a batch of eggs (that should be a full load for the fumigation) select numerous positions within the load, as randomly placed as possible. So top, middle, bottom, trays with eggs from front, centre and back of the trays.
It is important you immediately dispose of all the sampled eggs after the test. Do not keep any.
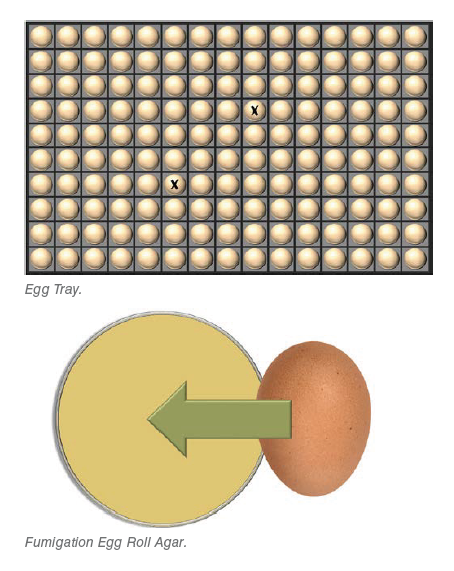
- Select two eggs from each of the trays.
Roll the first one across the agar plate prior to fumigation.
Fumigate.
Roll the second one across the agar plate after fumigation.
- You now have a lot of agar plate samples to test for bacterial growth.
To be sure whether your batch of agar is sterile, you should keep one control plate together with all the samples.
Do nothing to the control plate.
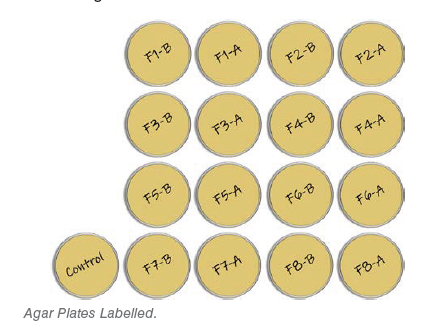
- Incubate the agar plates for 24 hours inside a sealed container or large zip lock bags. You can do this inside any setter but preferable inside one that is in between 14-16 days. Between 14-16 days is ideal as you will not disturb CO₂ levels of the younger embryos. There is also no chance of accidental disturbance as they will be 48 hours before transfer.
- Now look at the results:
You want to compare the results of the eggs you rolled over the agar plates before fumigation with the one you rolled over the agar plates after fumigation.
What do you see? Are your results from before fumigation high but very low after fumigation? Great! The fumigant disinfected the egg and little bacteria were left to grow on the plate. This means the fumigation is still effective.
If the results are the same or not very well improved, you know there is an issue. The strength of the fumigant could be insufficient or exposure time to the fumigant could be wrong. Assuming these are ok, the issue will be circulation within the chamber.
Usually you’ll see better results in one area than another because the circulation (fumigant exposure) is better in one area than another. By improving airflow in that area, you can solve this.
With your fumigation room checked and possible issues taken care of, you can rest assured that you reduced the risk of contamination with microorganisms to a minimum and paved the way to maximize your profit.


